3 Steps to Remove an Earwax Plug
Summary
– Step 1: Prevent wax plugs
– Step 2: Recognize the symptoms of an earplug
– Step 3: Unclog your ear
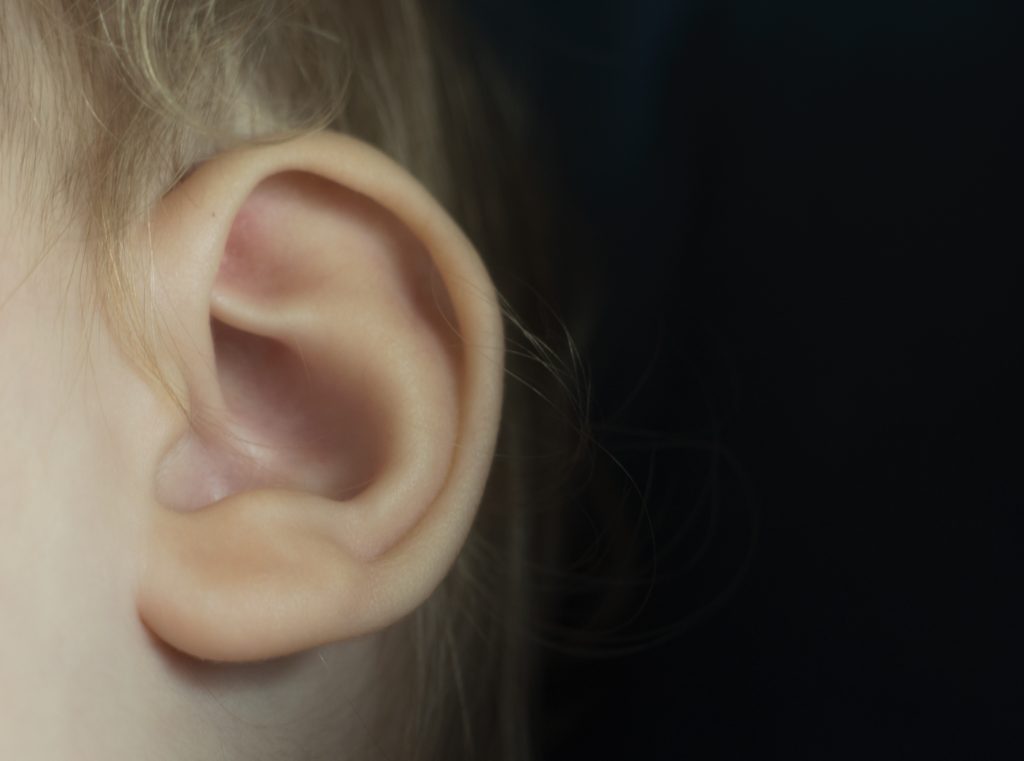
To protect against infections and foreign bodies, the ears secrete a substance called cerumen. Normally, earwax drains out naturally along the outer canal of your ear. Sometimes, this flow may not occur properly and cause a plug to form.
Below are some tips on how to prevent earwax from forming or remove a plug.
1. Prevent earwax plugs
The constitution of the earwax depends on your genetic makeup. Some people secrete a thicker cerumen than others, thus favouring the formation of plugs.
A bad use of cotton swabs favours the occurrence of a plug. The cotton swab should be used on the auricle and at the entrance of the ear canal only. If you push it in too deep, you risk pushing the earwax to the bottom of the canal. If you go in the opposite direction of its flow, there is a risk of a plug forming.
Good to know: since January 1, 2020, certain single-use plastic products, including cotton swabs, are prohibited for sale.
People who frequently use earphones, earplugs and hearing aids are more prone to plugging.
How do I wash my ear canal?

– When you take a shower, use the shower head to rinse the ear canal. After your shower is over, dry the inside of your ears well with a clean, dry towel.
– You can also use a syringe or an ear bulb. These should be filled with water at 37°C (body temperature) and then injected into the ear canal with your head tilted to the side to drain the water. Then dry the tube with a clean, dry towel.
– You can also use an ear pick that you can find in pharmacies.
Note: If you have a perforated eardrum or a transtympanic (yo-yo) vent, do not use these methods.
2. Recognizing the symptoms of an earplug
– The progressive onset of deafness in the ear is strongly suggestive of earwax plugging.
– Sometimes the plug can cause dizziness when it comes into contact with the eardrum.
– Some ear plugs manifest themselves as tinnitus (a buzzing sensation in the ear).
3. Unclogging the ear
Note: If you have a perforated eardrum or a transtympanic (yo-yo) vent, do not use these methods. Call a specialist.
– Fill a 5 ml syringe or ear bulb with water at 37°C.
– Tilt your head to the side with the stopper over a sink or basin.
– Quickly inject the contents of the syringe or ear bulb into the ear canal. Warm water pressure will dissolve the plug. You should see pieces of earwax in the sink (or basin).
– Repeat the procedure as long as there are pieces of the plug sticking out of the ear.
If this first method does not work, the plug may be too hard. In this case, you must buy a product from a pharmacy without a prescription to soften it. The product must be used for 3 to 4 days and then repeat the operation with a syringe or an ear bulb.
If you still cannot remove the cap, you will have to go to an ENT specialist. He will use a small cannula with a painless suction mechanism to remove it.
Finallly, like the saying: prevention is better than cure. Getting a specialist to remove the earwax plug is one thing, but you should care to have a check up at least once a year to determine any other anormalities in the ear. Wish you good health ahead, and remember to share your experience with our readers.


1 Response
[…] 3 Steps to Remove an Earwax Plug; […]